Ubiquiti AM-V2G-TI | Sektor-Antenne | airMAX Titan, 2GHz, 15-17dBi
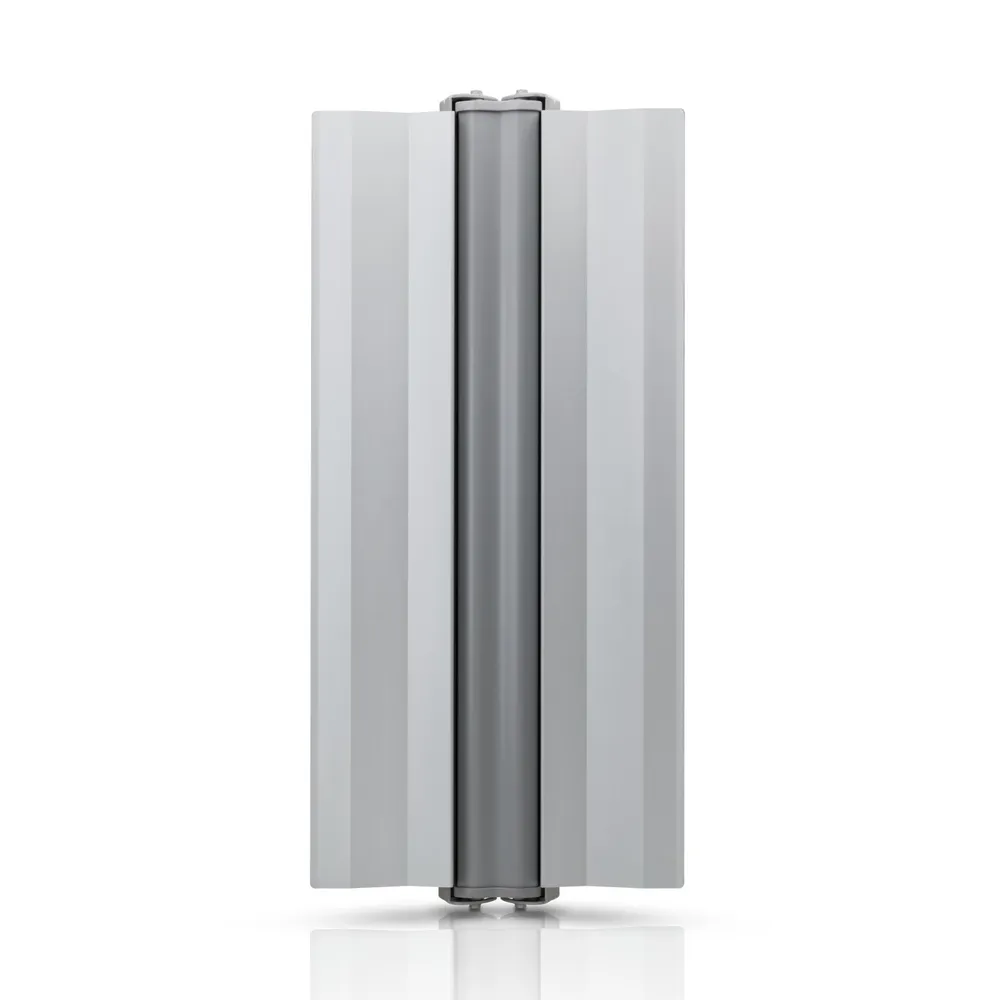
Gabaryt
Informationen zur für das Produkt verantwortlichen Person, Sicherheit, Compliance und Warnungen.
EinzelheitenEmpfohlene Produkte
Kürzlich angesehen
Informationen zur für das Produkt verantwortlichen Person, Sicherheit, Compliance und Warnungen.
Einzelheiten


