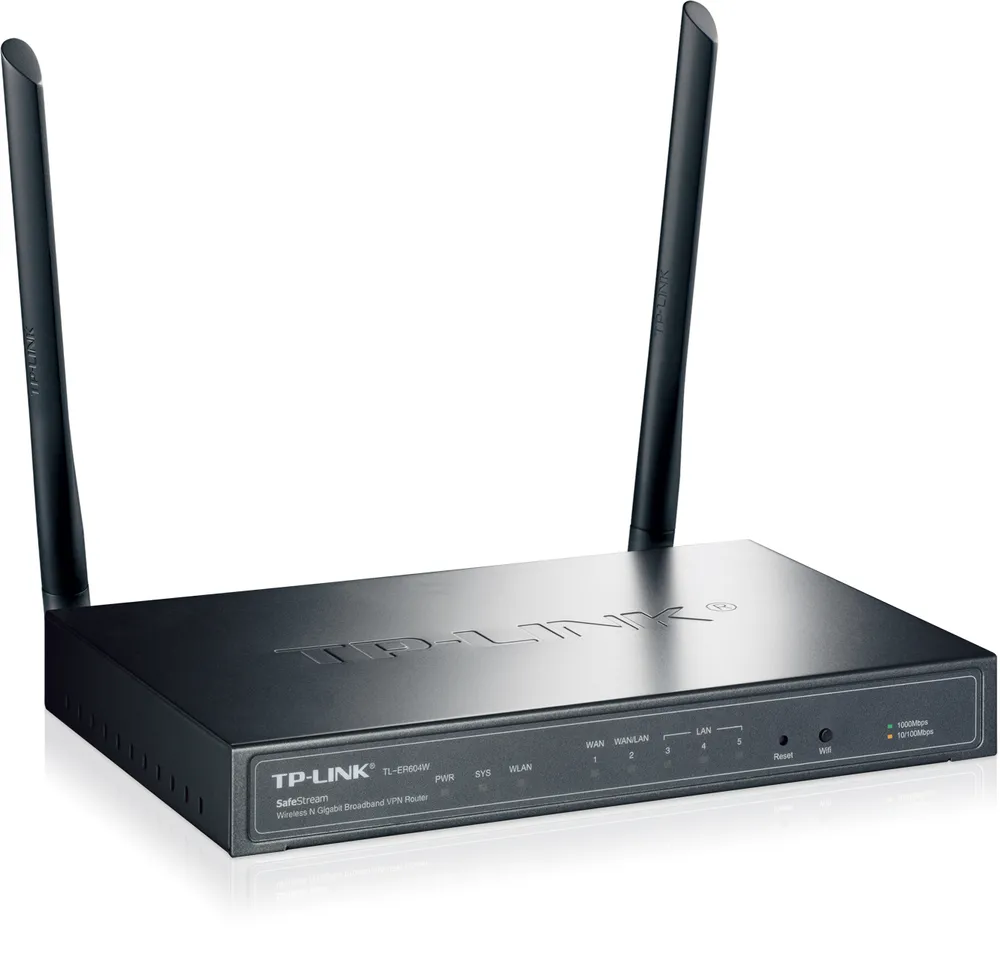
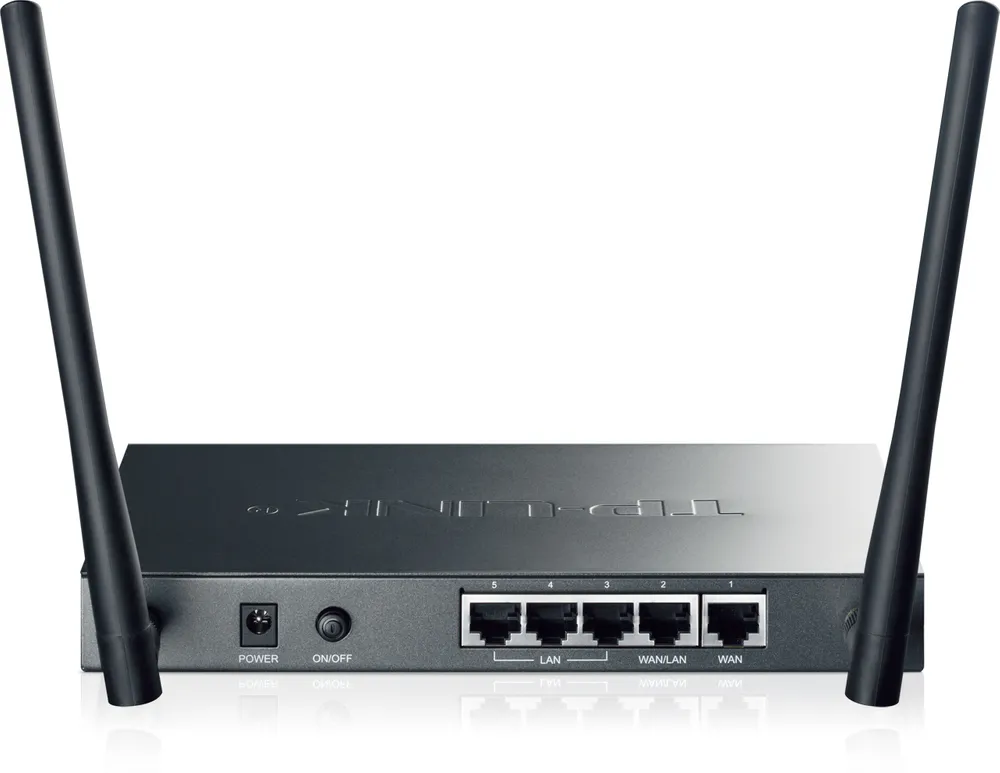
EN
The TP-Link TL-ER604W SafeStream Wireless N Gigabit broadband VPN router supports wireless N speeds and gigabit wired speeds on all ports. It integrates multiple VPN protocols, high security and powerful VPN features, making it the ideal network choice. In addition, with a variety of useful features including a hardware on/off button for Wi-Fi, guest network support, application control and PPPoE server functions, the TL-ER604W is ideal for both home and small office users.
TP-Link TL-ER604W is wireless VPN router equipped with one Gigabit WAN port, three Gigabit LAN ports and one Gigabit WAN/LAN port. Apart from wired connectivity, the router also supports IEEE 802.11b/g/n wireless standards with 300 Mbps throughput, as well as TCP/IP, DHCP, ICMP, NAT, PPPoE, SNTP, HTTP, DNS, IPsec, PPTP, L2TP protocols.
Equipment features | |
Standards and protocols | IEEE 802.11b / g / n, 802.3, 802.3u, 802.3ab TCP / IP, DHCP, ICMP, NAT, PPPoE, SNTP, HTTP, DNS, IPsec, PPTP, L2TP, SSL, HTTPS |
Scepter | 1 Gigabit WAN port 3 Gigabit LAN ports 1 Gigabit WAN / LAN port |
Network media | 10BASE-T: UTP cable cat. 3, 4, 5 (max. 100 m) 100BASE-TX: Cat 5, 5e UTP cable (max. 100 m) 1000BASE-T: Cat 5 UTP cable, cable 5e (max. 100 m) |
Number of fans | No fan |
Button | Power on/off, Wi-Fi on/off, reset |
Power supply | External power supply (output: 12VDC / 1.0A) |
Flash | 8MB |
DRAM memory | 64MB (DDRII) |
LEDs | PWR, SYS, WLAN, WAN, WAN/LAN, LAN |
Dimensions (S x G x W) | 8.2 x 5.0 x 1.0 inch (209 x 126 x 26 mm) |
Antenna | 2 detachable 5dBi antennae |
Performance | |
Number of concurrent sessions | 10000 |
NAT capacity | 160Mbps |
IPsec VPN throughput | 38Mbps |
Wireless transmission characteristics | |
Frequency of operation | 2.4-2.4835 GHz |
EIRP | <20dBm (EIRP) |
Wireless transmission functions | Wireless on/off, WDS, WMM, Wireless Statistics |
Wireless transmission security | WEP, WPA/WPA2, WPA-PSK/WPA2-PSK |
Guest Network function | Yes |
Multi-SSSID | Up to 8 SSIDs |
Basic functions | |
WAN connection type | Dynamic IP, Static IP, PPPoE, PPTP, L2TP, Dual Access, BigPond |
DHCP | DHCP server/client, DHCP reservation |
MAC address cloning | Possibility to change MAC addresses for WAN/LAN ports |
Switch settings | Port Mirror, Rate Control, Config port, VLAN port |
IPTV | IGMP Proxy, IGMP Snooping |
Advanced features | |
Band balancing | Intelligent band balancing, Routing rules, Protocol binding, Switching WAN connections - (temporary, emergency), Link status detection |
NAT | NAT one to one, NAT - Multinet, Virtual servers, Port Triggering, UPnP, FTP/H.323/SIP/IPsec/PPTP ALG |
Routing | Static routing, Dynamic Routing (RIP v1/v2) |
System operation mode | NAT, Non-NAT, Classic Routing |
Traffic control | IP-based bandwidth control, Possibility to set a limited and guaranteed band, Access schedule, Session limit based on IP |
VPN networks | |
IPsec VPN | 30 IPsec VPN tunnels, LAN-to-LAN, Client-to-LAN, 2 negotiation modes - Main/Aggressive, DES, 3DES, AES128, AES192, AES256 encryption, Authentication MD5, SHA1, Key management - manual and IKE protocol, IPsec NAT Traversal (NAT-T), Dead Peer Detection (DPD), Perfect Forward Secrecy (PFS) |
PPTP VPN | 8 PPTP VPN tunnels, PPTP VPN client/server, PPTP with MPPE encryption, Passthrough NetBIOS |
L2TP VPN | 8 L2TP VPN tunnels, Client/server L2TP VPN, L2TP over IPse, Passthrough NetBIOS |
VPN Pass-through | IPsec (ESP), PPTP, L2TP |
Transmission security | |
Application control | Blocking - IM, P2P, Web IM, Web SNS, Web Media, Protocol, Proxy |
Protection against network attacks | Protection against TCP/UDP/ICMP Flood attacks, Blocking TCP scan (Stealth FIN/Xmas/Null), Blocking ping packets on the WAN side, CSRF protection |
Filtering | Filtering MAC addresses, Filtering URLs/keywords, Filtering of page content (Java, ActiveX, Cookies), Local access control |
Protection against ARP attacks | Sending out GARP packets, ARP scanning on the LAN/WAN side, IP-MAC address binding |
Management | |
Services | PPPoE server, E-Bulletin, Dynamic DNS (Dyndns, No-IP, Peanuthull, Comexe) |
Support | Management via web interface, Remote management, Export/import configuration, NTP synchronization, The system log, SNMP, NAT IP board |
Other | |
Certificates | CE, FCC, RoHS |
Package contents | TL-ER604W, A CD, Power cable, RJ45 Ethernet cable |
System requirements | Microsoft® Windows® 8/7/Vista/XP/2000, MAC® OS, Linux |
Working environment | Permissible operating temperature: 0℃~40℃ (32℉~104℉), Permissible storage temperature: -40℃~70℃ (-40℉~158℉), Permissible air humidity: 10%~90%, non-condensing, Permissible storage humidity: 5%~90%, non-condensing |
Installation instructions TL-ER604W | Download |
Step 1 Open the web browser window, enter the IP address of the router into the address field (default value is 192.168.1.1). Then press the Enter key.
Step 2 To log in to the device's configuration page, enter your user name and password (the default value of both fields is: admin).
Step 3 From the left hand menu, select Forwarding->Virtual Servers and then press Add New... .
Step 4 Enter the port number in the Service port field. In the IP Address field, enter the IP address of your computer. Select TCP, UDP or ALL from the Protocol drop-down list. Change the Status field to Enabled
Step 5 To save the settings, press the Save button.
Attention, please:
If port 80 is opened to operate the Web server, the port used to manage the device will be changed
To connect to the router, enter the address: http://192.168.1.1:8080
NOTE: For a remote computer to connect to a PPTP server, you can use Windows' built-in PPTP software or third-party PPTP software.
Step 1 : Click Start -> Control Panel -> Network and Internet -> Network and Sharing Center.
Step 2 : Click Configure new connection or network.
Step 3 : Select Connect to workspace , then click Next .
Step 4 : Select Use my internet connection (VPN).
Step 5 : In the Web Address field, enter the WAN IP address of the VPN server, then click Create . (The destination name is optional).
Step 6 : Then return to the Network and Sharing Center , click Change tab settings .
Step 7 : Right-click on the PPTP connection just created and select Properties , select Security , Type VPN : Point to Point Tunneling Protocol (PPTP) , Date Encryption : it is recommended to select an optional encrypted connection and click OK .
Note: If you want to set up an L2TP client on Windows 10, follow step 7, as below:
Step 7: Right-click the L2TP connection just created and choose Properties. On the Security tab, select Layer 2 tunneling protocol from IPsec (L2TP / IPsec) , under Data Encryption select Require Encryption (disconnect if the server rejects).
Click Advanced Settings , select Use pre-key for authentication and then enter the key.
Step 8: After all settings, right click PPTP / L2TP connection, select Connect / Disconnect and enter your user name and password to connect to the VPN server.
The router's MAC Filtering function allows you to block Internet access to selected computers.
Step 1 To enable certain computers to access the Internet, you must know their MAC addresses. You can check them using the command line commands.
(1) Select Start->Run, enter the cmd command and press the Enter key.
(2 ) In the command line window, type the ipconfig/all command and press the Enter key. The computer's network connection information (including the network card's MAC address) will be displayed.
Step 2 Open the web browser window, enter the IP address of the router into the address field (default value is 192.168.1.1). Then press the Enter key.
Step 3 To log in to the device's configuration page, enter your user name and password (the default value of both fields is: admin).
Step 4 Select Security->Firewall from the left-hand menu.
Step 5 Check this option: Enable Firewall(the feneral firewall switch), and Enable MAC Filtering. To allow only selected computers to access the Internet, select Allow these PCs with enable rules to access the Internet. The computers whose MAC addresses are listed will access the network. Otherwise, select Deny these PCs with enabled rules to access the Internet.
Step 6 To save the settings, press the Save button.
Step 7 Select Security->MAC Filtering from the left-hand menu.
Step 8 To create a new rule, press Add New.
Step 9 In the MAC Address field, enter the MAC address of the computer for which Internet access will be configured. Select Enable from the Status list.
Step 10 To save the settings, press the Save button.
A computer with a defined MAC address has access to the Internet (via router).
To allow other computers to access the Internet too, press Add New to add more rules. One rule can apply to one MAC address.