Contact


Account

Favorite

Cart
How to configure Ubiquiti Unifi AC MESH and CloudKey
 Click to enlarge!
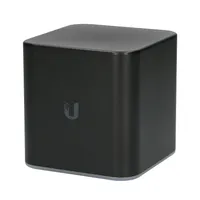
Ubiquiti Inc. has established itself on the market of equipment for ISPs after many years. At the moment their range of products is huge: starting from AirMAX, EdgeMAX, UniFi, SunMAX, ending with devices working in GPON standard (e.g. Ubiquiti Inc. Ubiquiti U-Fiber GPON OLT, Ubiquiti ONU NanoG). In addition, recent years they have also taken care of home users by releasing AmpliFi and AirCube series devices.
In this guide we will focus on the configuration of Ubiquiti UAP AC MESH series devices as one of the best AP solutions available on the market. Additionally, we will use the Unifi CloudKey controller, which significantly simplifies the configuration process itself and Ubiquiti UniFiSwitch 8-150W, which will serve as the main power supply unit for our devices and act as a PoE switch. As the main router we will use Totololink 300RH working in Client mode.
We should start by explaining the concept of a MESH network topology. The assumption of the MESH network topology is the ability to communicate between network elements without the need to involve a central unit like an Access Point.
The differences between the star topology and the grid topology are best illustrated by the following illustrations:
 Click to enlarge!
 Click to enlarge!
In a network with this topology, the most important thing is that any network device can communicate with any other device directly (of course if these devices are adjacent to each other) or through any other network elements (if the target element is outside the direct reach of the source).
Practical application for a network based on MESH topology can be found in areas where cable installation is not feasible (e.g. concert or sports halls). Additionally, the MESH network is scalable and therefore it is very easy to expand the infrastructure and we can obtain huge capacity .
The great advantage of such a topology is also the fact that such a network is self-repairable, as other network elements automatically take over the function of mediating when any of the elements stops working. It is also worth noting that thanks to such a solution we achieve energy savings, as communication occurs only at short distances between directly adjacent elements.
The MESH network is based on the IEEE 802.11s standard, and IEEE 802.11i and IEEE 802.1X standards have been used for security. In short, the Pairwise Master Key (PMK) is used to authorize devices, which must be accepted by both sides of the communication devices. You can also create group keys that are used for broadcast and multicast transmissions.
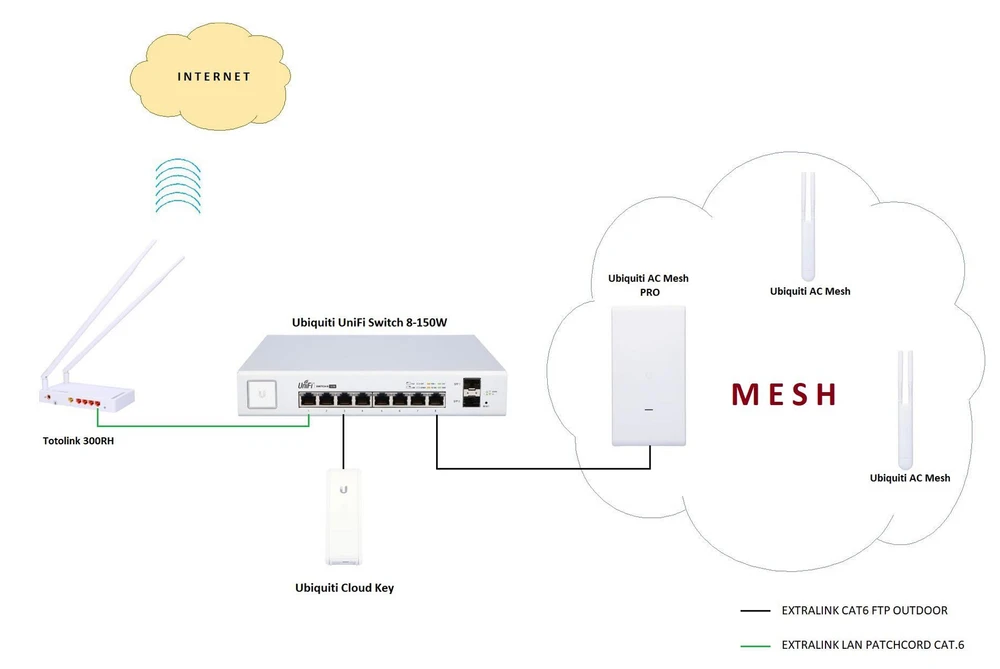
With this knowledge, we can begin to configure our network. To better understand the network built, below you can find all the elements that make up the network and its diagram.
The network was built with the following devices:
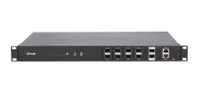
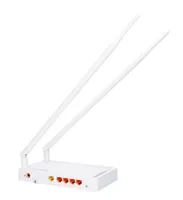
- 1x Totolink 300RH (working in Wireless ISP Client mode)
- 1x Ubiquiti Unifi Switch 8-150W
- 1x Ubiquiti Cloud Key (which is our controller)
- 2x Ubiquiti UAP AC Mesh
The most noteworthy of which are UAP AC MESH and UAP AC MESH-PRO
 Click to enlarge!
The network that was built for this guide is as follows:
 Click to enlarge!
As we already know how our network is built, we can move on to device configuration.
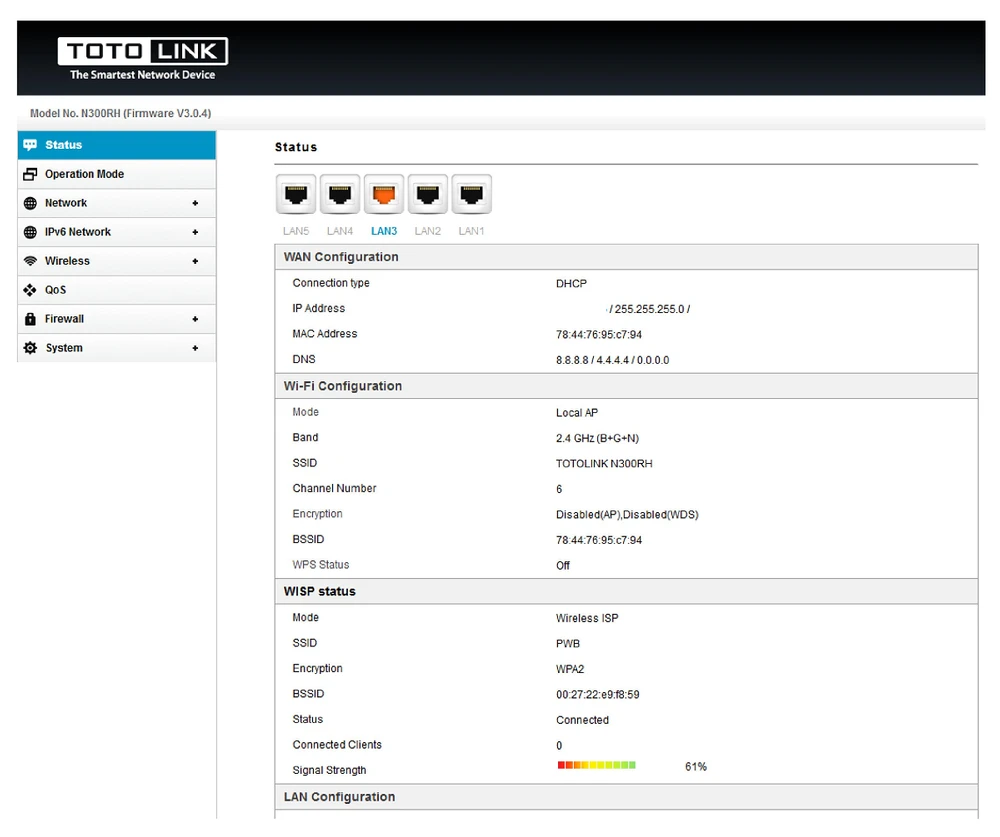
The most important thing is that we get the Internet from the operator on our router and run the DHCP server. In our case we will receive the signal wirelessly using a Totolink 300RH router operating in the Wireless ISP Client mode.
The procedure is trivially simple:
- first of all, we select the appropriate router mode
 Click to enlarge!
- then scan the available networks, select the one you are interested in, enter the WPA2 key and you are done
 Click to enlarge!
Of course, we also have an overview the status of our connection and can monitor it in real time:
 Click to enlarge!
Once we have access to the Internet service and an active DHCP server on our router, we can configure Ubiquiti devices. Connect the equipment according to the diagram above.
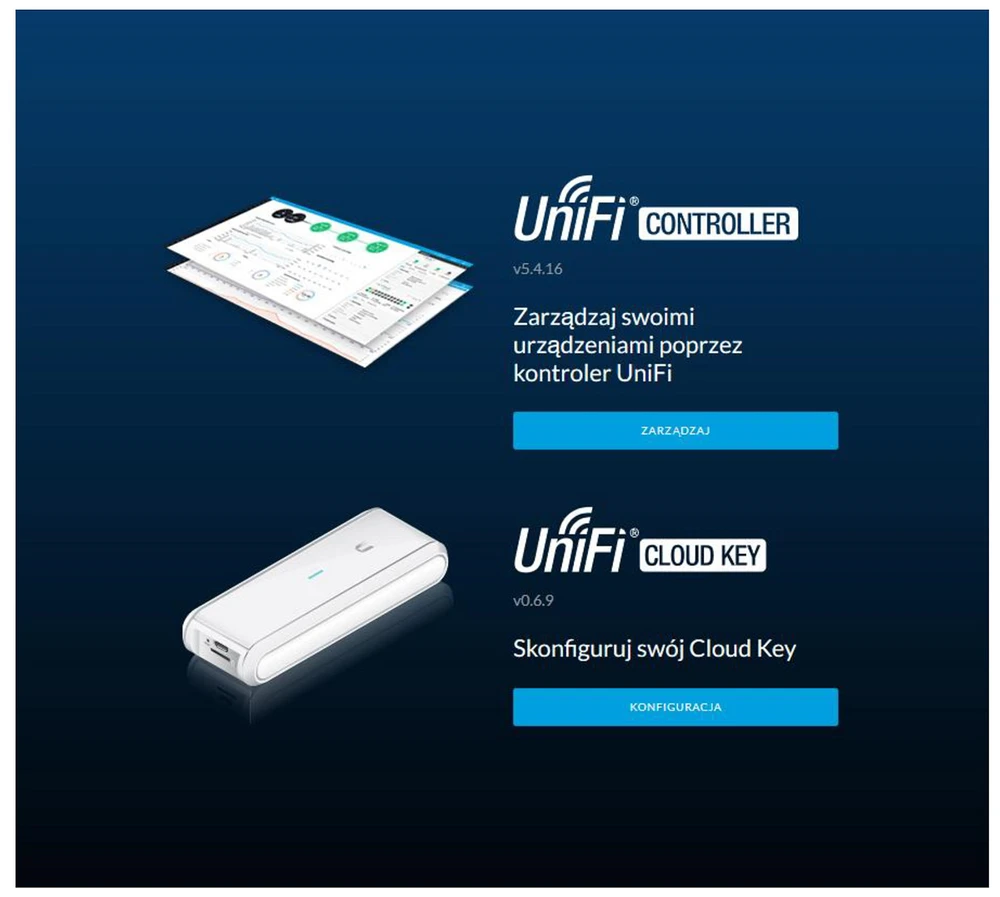
First we run the Discovery Tool to see what addresses each device has received and find our Unifi Cloud Key.
 Click to enlarge!
 Click to enlarge!
After logging in to UniFi Cloud Key it is mandatory to change the default password and update the firmware to the latest. Then we can go on to manage our devices.
It is also very easy to do, because we have a very clear wizard to guide us step by step through the process of configuring UniFi devices.
 Click to enlarge!
 Click to enlarge!
 Click to enlarge!
At the very end, we will be asked to enter the login and password for our account on Ubiquiti in order to manage everything through the cloud, but we can also skip this step.
 Click to enlarge!
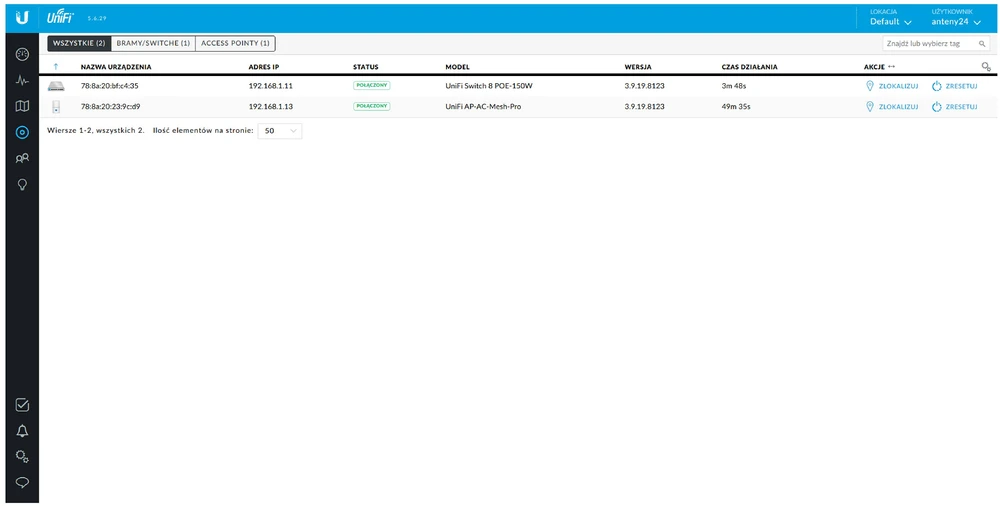
If we go through the wizard correctly, we will already have direct access to the configuration of individual devices. The most important thing is to update the firmware of all the devices, and then we have to adopt them.
 Click to enlarge!
 Click to enlarge!
After all the devices have been properly adopted, we can start configuring our MESH network, but at the very beginning we have to enable Upline connection monitor in our controller because if we do not, then the next devices connected to our network will not be visible and will not establish a connection.
 Click to enlarge!
Please set the appropriate frequencies on our Unifi AC Mesh Pro, the "Auto" option on both radios (2.4 GHz and 5GHz) is enabled by default, and it is not a good idea to set the channels to "Auto" mode due to environmental interference.
 Click to enlarge!
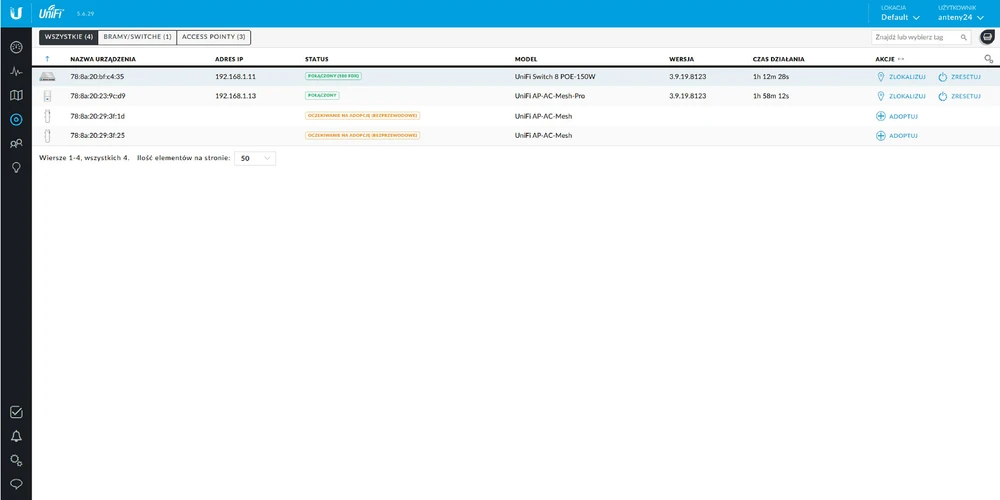
Ok, now we can connect other devices that will co-create the MESH network in our case it will be two UniFi AC Mesh devices.
On startup, the devices are immediately visible in our controller with the status "WAITING FOR ADOPTION (WIRELESS)" - they should of course be adopted and the firmware updated if necessary.
 Click to enlarge!
 Click to enlarge!
And there you go! In such a quick and easy way we configured our network based on the MESH topology. Of course we have full access to the status of individual wireless links both on UniFi AC Mesh Pro and on UniFi AC Mesh. We can check both signal strength and TX/RX status.
 Click to enlarge!
 Click to enlarge!
Networks based on MESH topology are a viable alternative to wired connections, and given the continuous development of wireless technologies, you can count on an increase in both bandwidth and range.
Moreover, the MESH network has very high interference immunity, provides better coverage of the area, and very high throughputs can be achieved with separate radio interfaces for customers and backbone connections.
MESH architecture is distinguished by scalability and self-configuration, and taking into account the ability to self-organize the MESH network and the negligible costs of implementation and development of infrastructure, it can be concluded that the IEEE 802 standard.11s is the future in building wireless networks.
We also invite you to discuss MESH networks on our FORUM
https://www.forum.batna24.com/
| Ubiquiti MESH - poradnik konfiguracji.pdf | pobierz |